Jweel: Freestyle Pendant tool
Welcome on Freestyle Pendant ! Here you will learn how to create unique pendants. This tool is very similar to the Freestyle Ring tool, to get familiar with sculpting basis, we recommand consulting the ring tutorial first. Differences between pendant and ring tools will be presented here. Have fun !
Tool overview
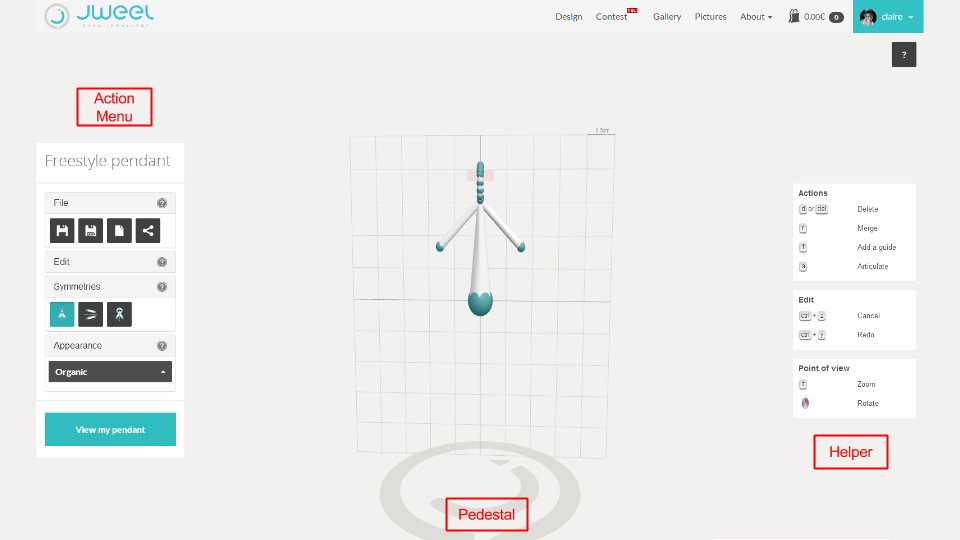
Action Menu
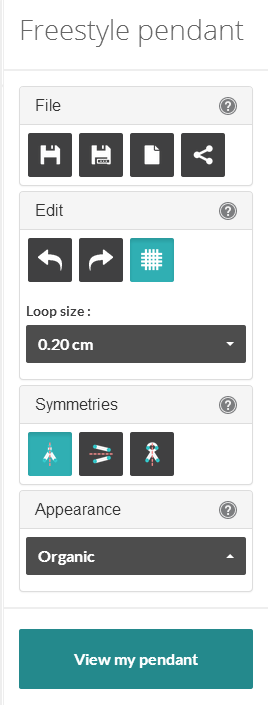
The action menu enables you to change the scene, the behavior of elements or edits. It also enables you to manage your file. Let's have a look on the different menus.
File Menu
The file menu enables you to save your work or to publish it in the gallery.
 |
Save | Save your current work |
 |
New object | restart your object |
 |
Save as | save under a new file name |
 |
Publish | Publish your object in the gallery |
Edit menu
The Edit menu enables you to cancel or redo your last action, or to add elements on the scene.
 |
Cancel | Cancel your last action |
 |
Redo | Redo your last action |
 |
Modeling Grid | Show/hide the modeling grid |
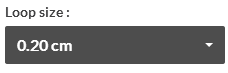 |
Choose the loop pendant size | |
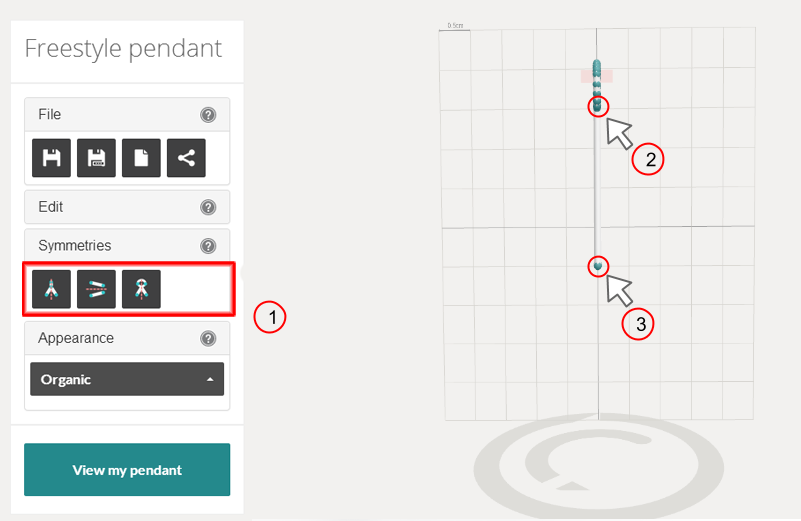
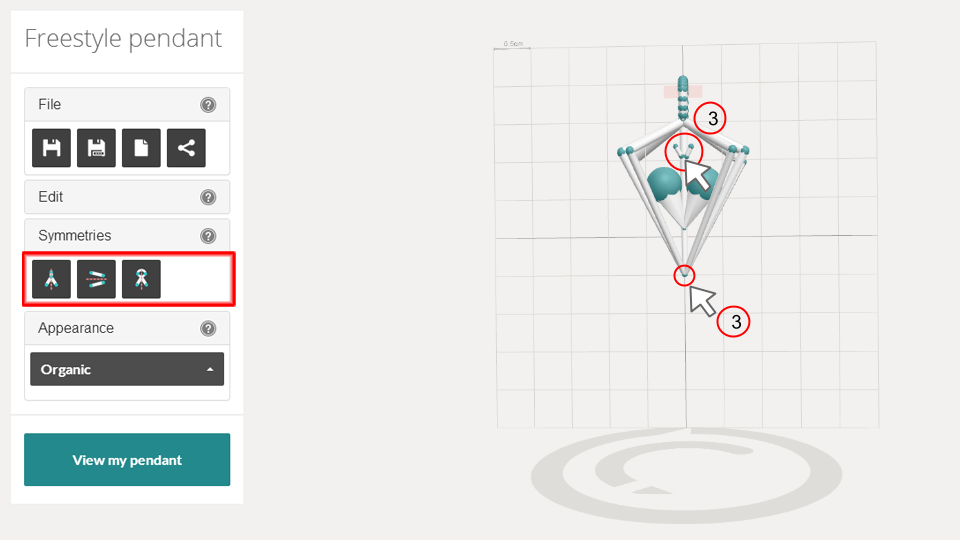
Symmetries menu
Symmetries enables you to create structured objects. When activated, every elements that has been created will have (at least) one symmetry. These elements will keep their symmetry even when it is disabled. When an element which has one or several symmetries is moved, its symmetries are also moved.
 |
Activates the X symmetry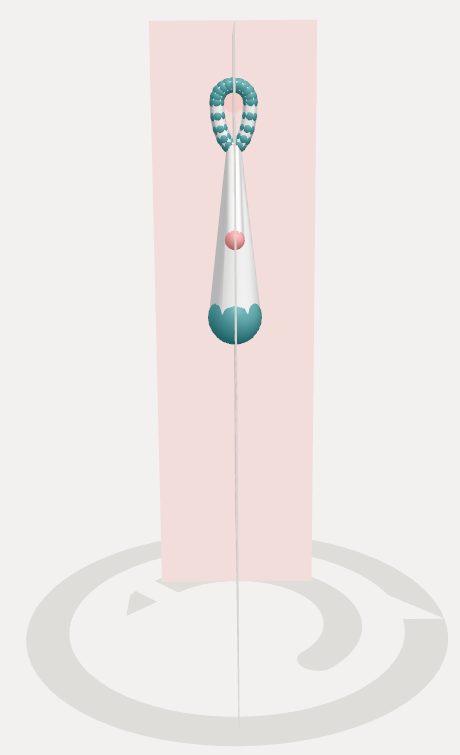
|
 |
Activates the Y symmetry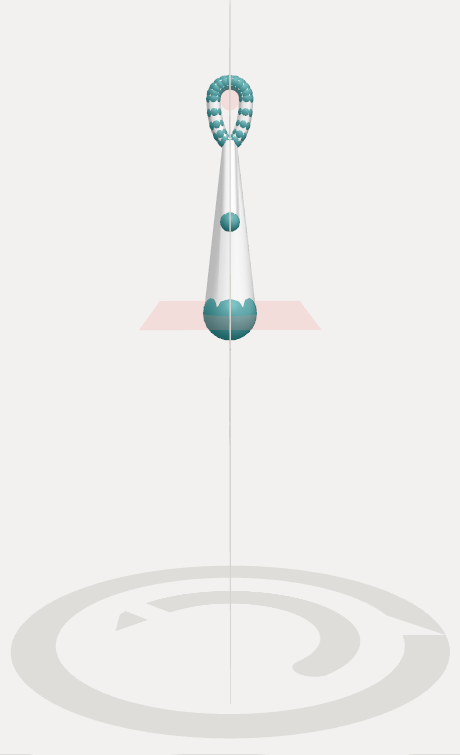
|
 |
Activates the Z symmetry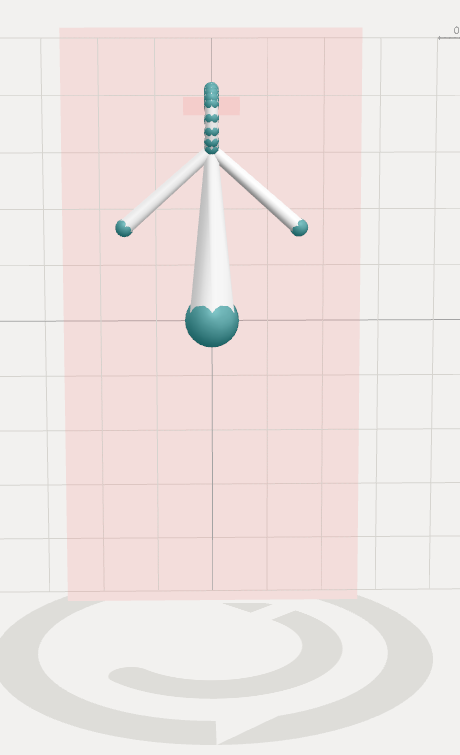

|
Appearance Menu
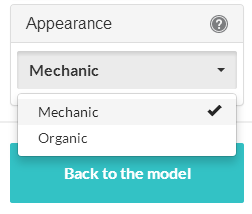
This menu enables you to change the final appearance of your pendant. Depending on your choice, the final rendering will be \"mechanic\" or \"organic\". Do not hesitate to try both modes, the appearance of your object will be very different.
Sharp appearance
Smooth appearance
View my pendant

This button enables you to move from the model of your object to its final appearance, in the material of your choice.
En cliquant sur "Visualiser mon pendentif", vous faîtes apparaitre le menu de commande sur la droite de l'écran.

It enables you to:
- Select a material (silver, gold, titane, etc..)
- Select a finish corresponding to the chosen material
- Know the price of your object in real time (NB: For more information on pricing, cf. FAQ \"How is the price determined ?\")
- Get immediate information on shipping costs
- To know the dimensions of your object
- Add to cart
Back to the model

This button enables you to go back to your model and keep on working on it.
Pedestal
The pedestal has a dual function:
- To give you a landmark when you are working on your model
- To give you the time needed to generate a 3D view of your model
Helper

The Help guides you in your different creative actions. Key and mouse commands are indicated, as well as keyboards shortcuts.Controls are classified: actions on the object, view edit, edit shortcuts...Some keys enable to enter special edit modes (delete, articulate, merge aso.). These keys have to be held down as long as you want to use the edit mode.
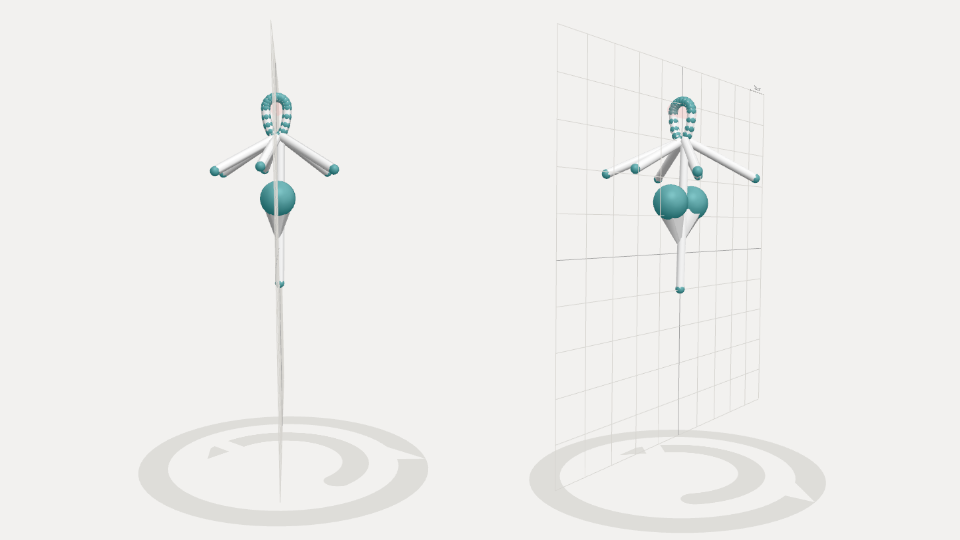
Scene elements
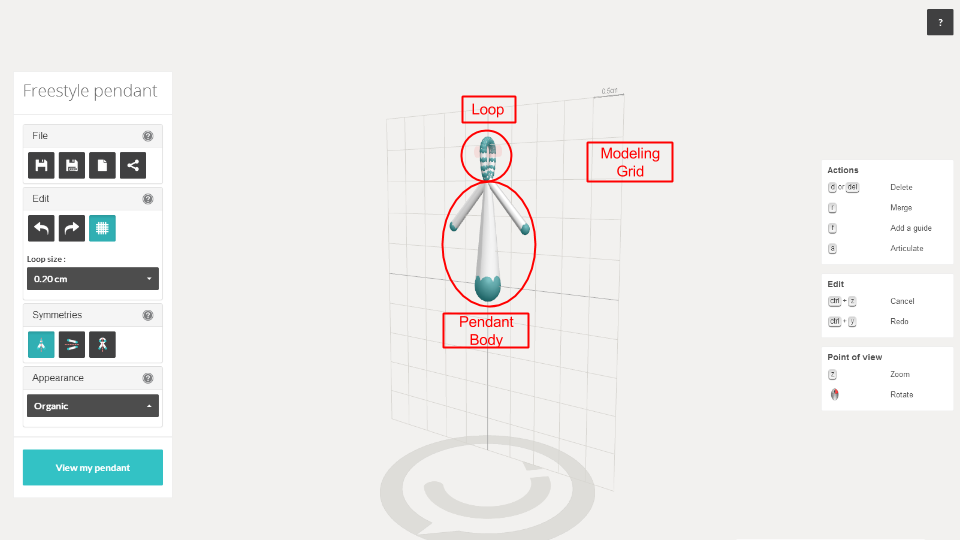
The pendant loop
The loop is the part of the pendant you will need to setup for the string.
Pensez à modifier la taille de l’accroche dans le menu Edition.
- En fonction de considération esthétiques (la forme varie également en fonction de la taille souhaitée, passant d’un ovale “goutte d’eau” à un cercle)
- En fonction de la taille de la chaîne que vous souhaitez associer à votre pendentif (taille des mailles et du fermoir, cordon de cuir ou de coton etc.)

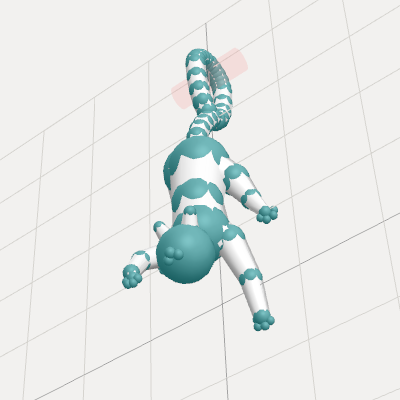
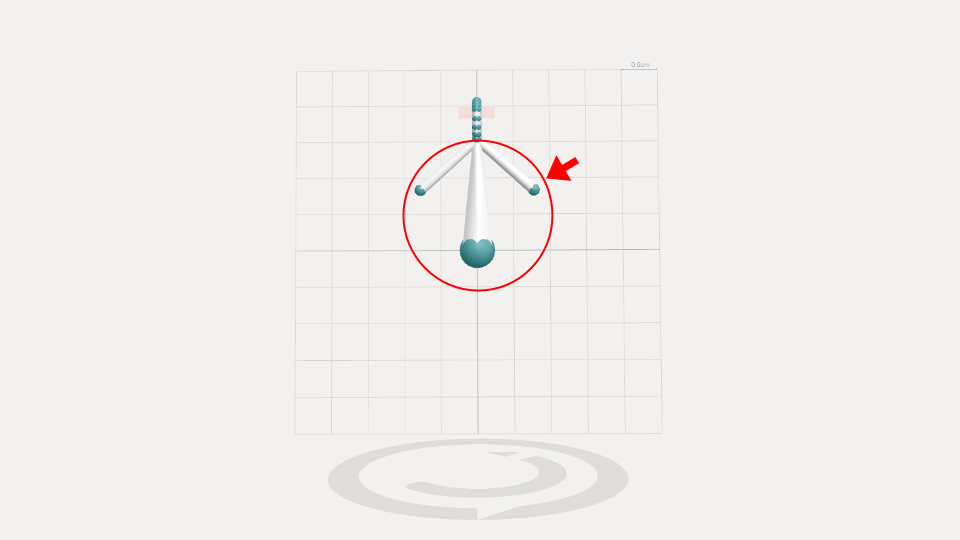
Pendant main part
C’est la partie que vous allez sculpter. Au départ, nous vous proposons trois segments de différente taille relativement faciles à manipuler. Vous pouvez tout à fait partir de cette base ou les supprimer pour commencer une création ex nihilo. Dans ce cas c’est à partir de l’accroche qu’il faudra recréer des guides et des segments (Touche “f” enfoncée, clic sur l’accroche ou double clique sur un guide de l’accroche). Pour plus de détails sur les actions sur les guides et les segments, référez-vous en au tutoriel des bagues sculptées. NB: Remember to turn on / off symmetries!
Modeling Grid
The modeling grid is a landmark to visualize the size of your pendant. To give you an idea, the grid is the one of a sheet with small-paned windows (5mm).
In practice
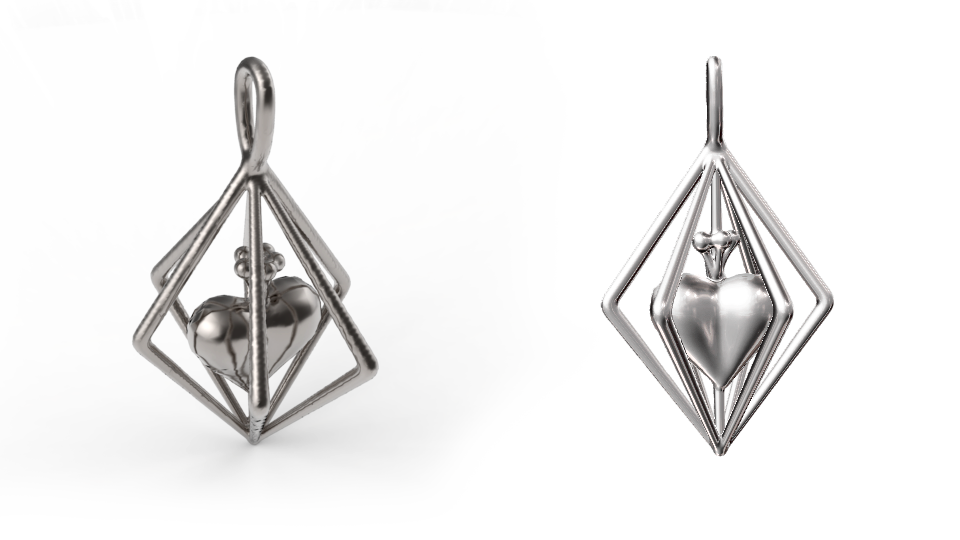
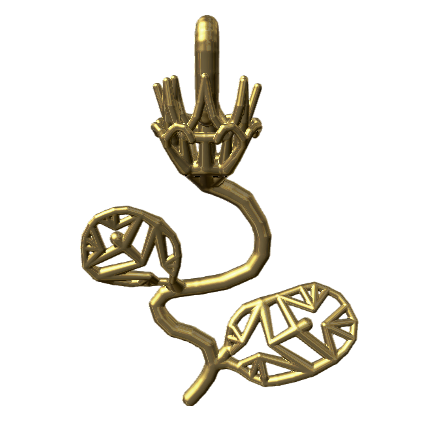
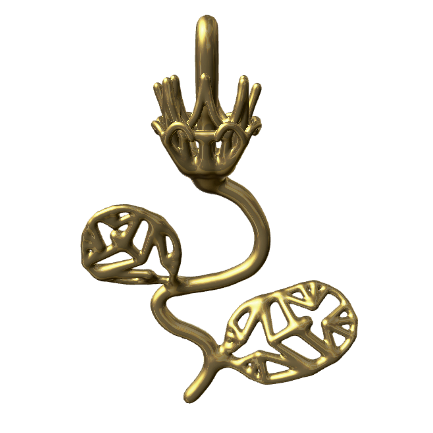
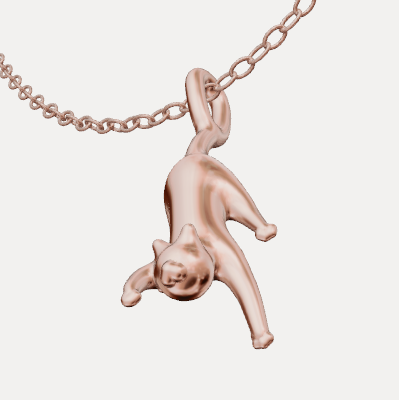
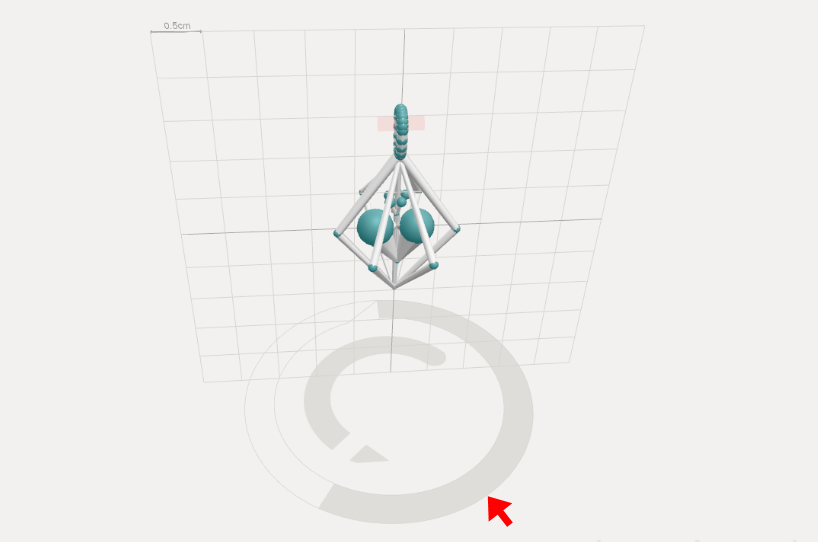
Heart locked pendant
Delete existing elements by holding the “d” key down and clicking on handlers.
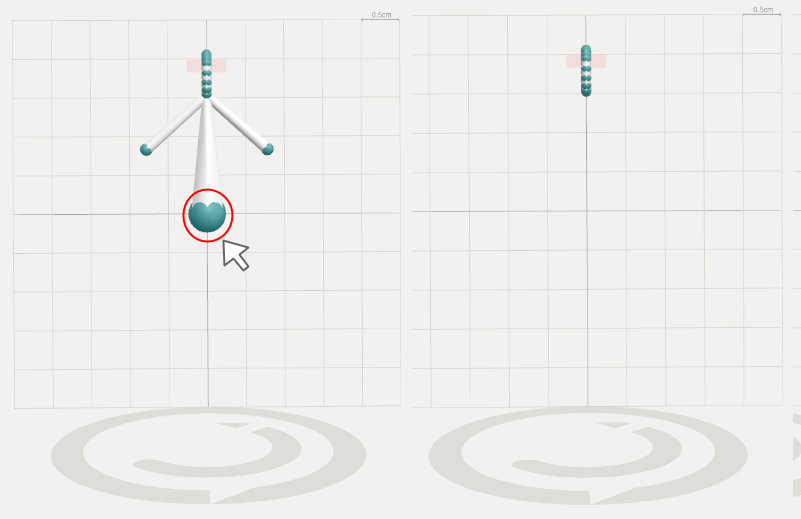
- Disable all symmetries
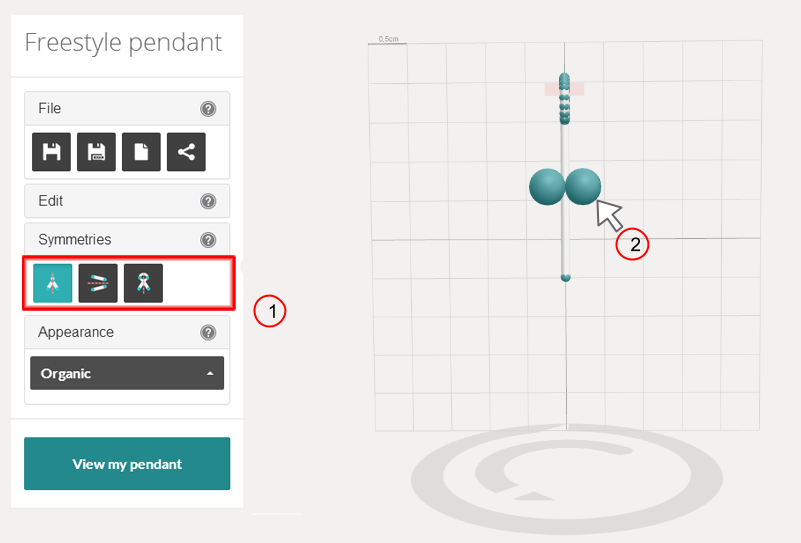
- Double-click on a loop central handler to create a new handler
- Draw the segment (use the modeling grid to put it perpendicular to the loop)
- Turn on the X symmetry
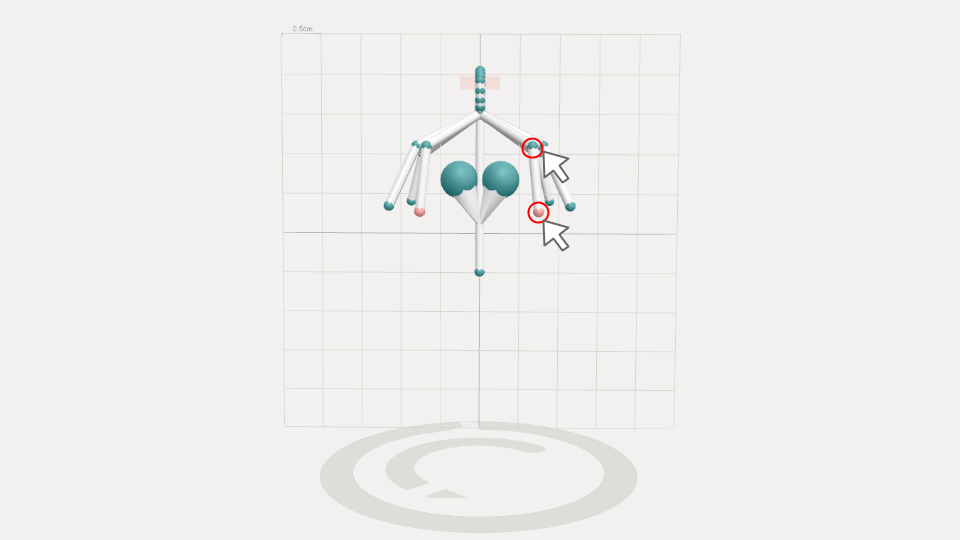
- Create 2 floating handlers by holding the “f” key down and clicking on the segment
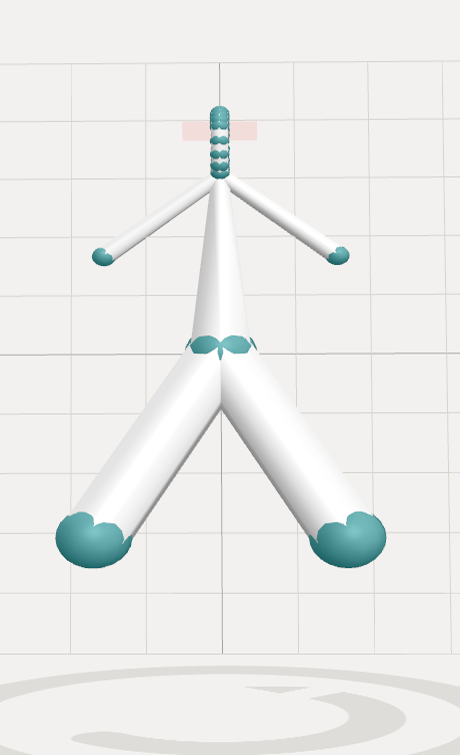
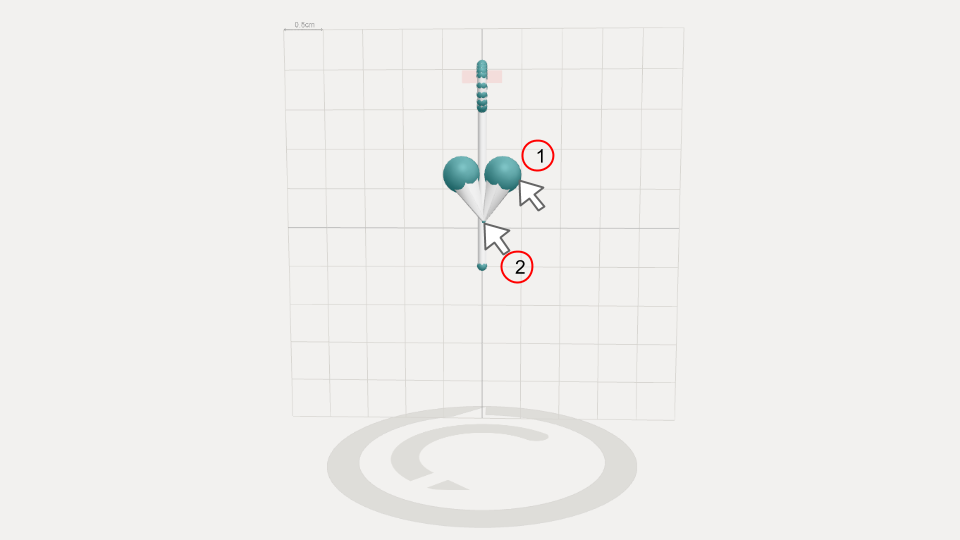
- Double-click on one of the handlers, draw the segments
- Use the mouth wheel to decrease their thickness and merge both segments (hold the “r” key down, click on one handler, then on the other one)The heart is now shaped.
- Enable all symmetries
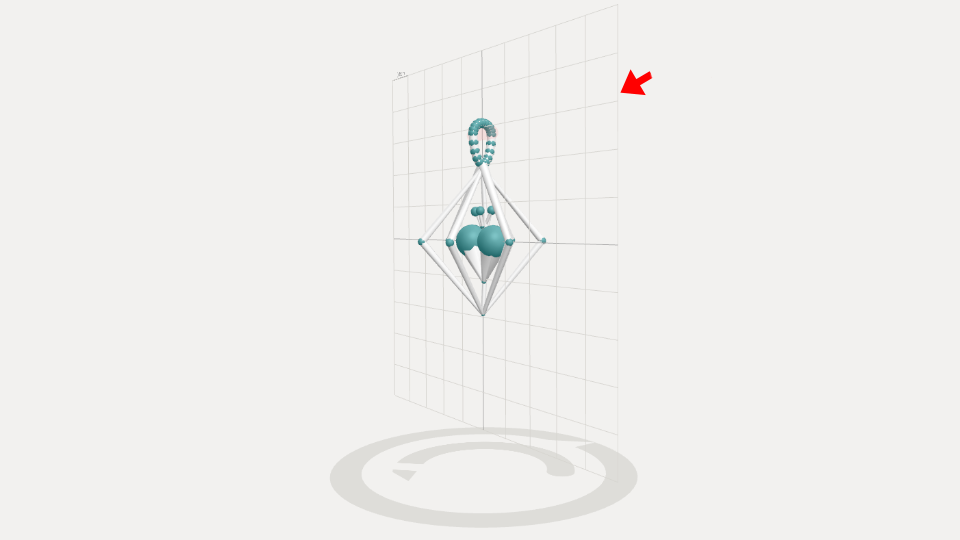
- Double-click on 3 handlers of the loop
- Draw the segments (6 appear)
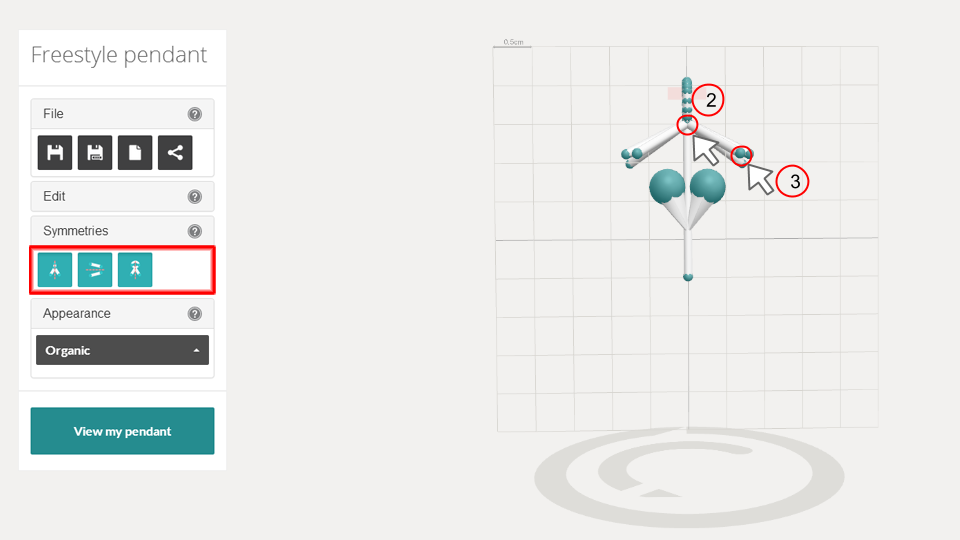
Double-cliquez sur les guides des segments que vous venez de créer et faites-en apparaître 6 nouveaux (barreaux de la cage)
Touche “r” enfoncée, faites fusionner tous les segments avec l’extrêmité du premier segment que vous aviez créee. NB: Pensez à relâcher la touche “r” entre deux fusions !
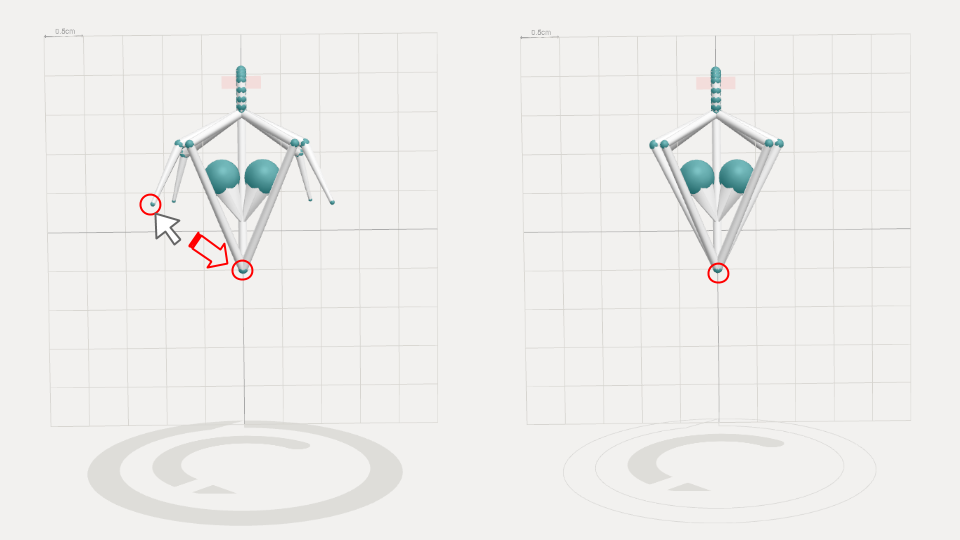
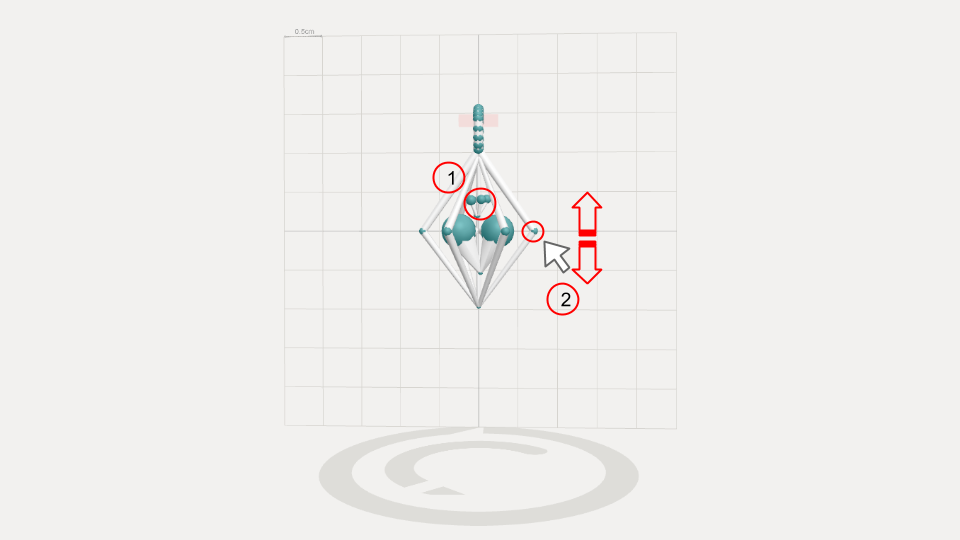
- Decrease the thickness of the segments using the wheel of the mouse
- Disable all symmetries
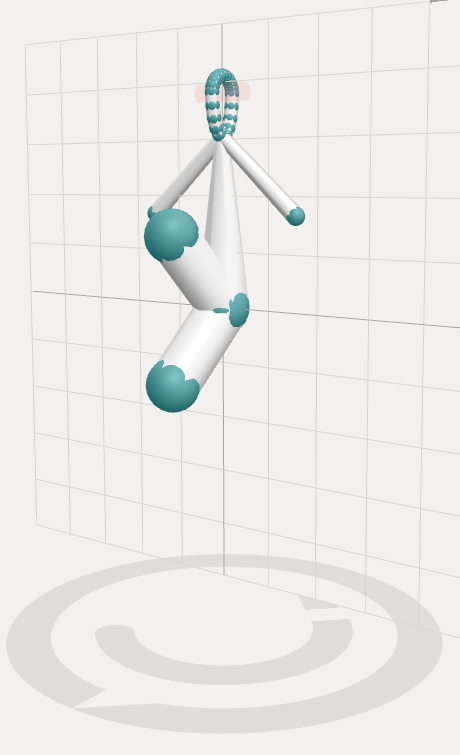
- With the “f” key, create some small segments that will make the crown.
- Finish the crown around the segment. Increase the thickness of the handlers
- Adjust the bars of the cage to make them symmetric.
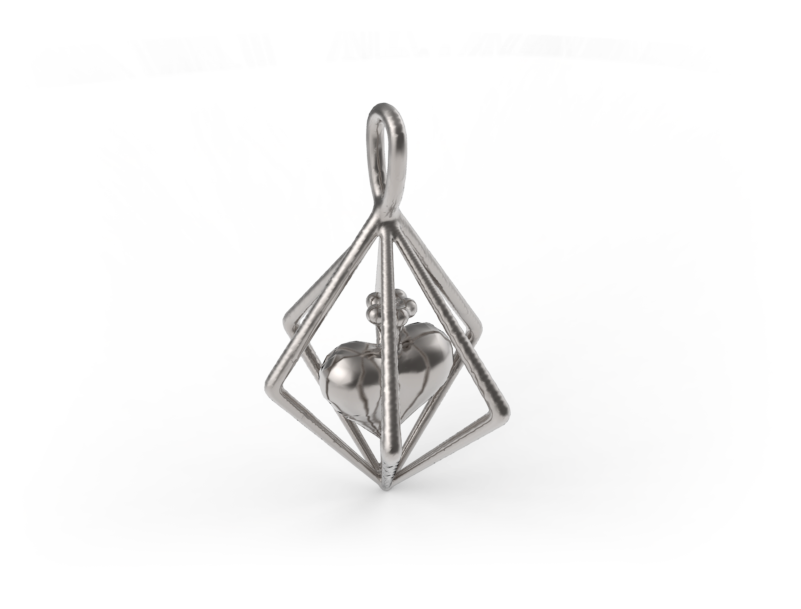
Congratulations, your pendant is ready! Choose your material and view the final render!